A practical introduction to Pygame, the game loop, and the update/draw pattern
If you read my last article about my plans for 2026, you already know that one of them was to build a video game. I started working on it in October 2025, and today feels like the right time to start writing about it.
I’m planning to write a full series about game development. Not only because I think it can inspire and help other people, but also because writing is part of my learning process. If you really want to understand something, you have to teach it. So here we are.
It all started about a year ago when I picked up a book called Code the Classics, by the Raspberry Pi Foundation. The goal is simple: recreate iconic games from scratch using Python and Pygame. After working through the first games in the book, I started building my own — a mix between an idle game and a city builder — and I learned a lot during the process.
One of the things I knew nothing about was the game loop, and the concepts of update and draw. This article is what I wish I had found back then. We’re going to build a small idle game together, step by step, using Python and Pygame. Nothing fancy: a counter that increments over time, a click mechanic to speed things up, and a score displayed on screen. Simple enough to fit in one sitting, concrete enough to illustrate how a game actually works under the hood.
What you’ll need: Python 3.12, a terminal, and about 20 minutes. We’ll set up a clean virtual environment together before writing a single line of code.
Let’s get started!

Pygame is not a framework
Before writing any code, there’s one thing you need to understand about Pygame: it’s a library, not a framework.
If you come from web development, you’re probably used to frameworks like Django, Rails, or Laravel. A framework gives you structure: it tells you where to put your files, how to handle requests, when your code gets called. You follow its conventions, and it takes care of the rest.
Pygame doesn’t do any of that. It’s more like React: you decide how you organize your code. And if you don’t do that right, it can get really ugly, really quick.
So yeah, like React, Pygame is a collection of tools — functions to open a window, draw shapes, play sounds, detect keyboard input. It uses SDL under the hood. SDL stands for Simple DirectMedia Layer. It’s a C library that gives programs low-level access to audio, keyboard, mouse, and display hardware — across Windows, macOS, and Linux. In other words, it’s the layer that sits between your code and the operating system. Pygame wraps SDL so you can use all of that from Python, without writing a single line of C.
For now, let’s not overthink it. Here’s what the simplest possible Pygame program looks like:
import sys
import pygame

pygame.init()

screen = pygame.display.set_mode((800, 600))
pygame.display.set_caption("My First Game")

clock = pygame.time.Clock()

while True:
  for event in pygame.event.get():
    if event.type == pygame.QUIT:
      pygame.quit()
      sys.exit()

  screen.fill((30, 30, 30))
  pygame.display.flip()
  clock.tick(60)
To run this:
- First, create a new folder called my-first-game.
- Create a file named app.py and write the code above.
- Set up a virtual environment with python3 -m venv .venv.
- Activate it with source .venv/bin/activate (on macOS/Linux) or .venv\Scripts\activate (on Windows).
- Install Pygame with pip install pygame.
- Finally, run python app.py.
Don’t worry if you get lost — I created a repository with the full code and setup instructions for macOS, Linux, and Windows. You can find it here.
Run this, and you’ll get a dark window, 800x600 pixels, that does nothing but stay open. That’s it. But there’s already a lot happening here, and we’ll break it down in the next section.

The game loop
Do you see the while True in the previous code? That's the game loop. And it's probably one of the most important concept in game development.
In a web application, your code runs when something happens: a user sends a request, you process it, you return a response, and then your code stops. It’s reactive. The server waits. The whole web is based on that: it’s the Request/Response model.
A game works completely differently. Your code runs continuously, 60 times per second, whether anything happens or not. Every single frame, the game checks for input, updates its state, and redraws the screen. That’s it, on repeat, until the player closes the window.
Think of it like a flip book. Each page is slightly different from the previous one. Flip through them fast enough, and you get the illusion of movement. The game loop is what flips the pages.
Here’s the structure in plain terms:
while the game is running:
    1. check for events (keyboard, mouse, window close...)
    2. update the game state
    3. draw everything on screen
    4. wait until the next frame
But, why 60 frames per second?
60 FPS has become the industry standard for a simple reason: it’s the threshold at which movement feels smooth to the human eye. Below 30 FPS, you start to notice stuttering. Between 30 and 60, it’s acceptable. At 60, it feels fluid. Beyond that — 120, 144 FPS — it’s even smoother, but the perceived gain diminishes and it costs more resources. For a Pygame game, 60 is the right balance.
And what about performance? Is it a lot to handle for computers?
A loop running 60 times per second sounds expensive — but in practice, clock.tick(60) actively makes the CPU wait between frames. If your frame takes 5ms to compute, Pygame will put the thread to sleep for the remaining ~11ms to hit the 16ms target (1000ms / 60). So the CPU isn't running at full speed — it's idle most of the time.
Where things can get costly is if you’re doing heavy operations inside the loop: iterating over thousands of objects, recalculating the entire scene every frame, and so on. That’s why performance optimization is a topic of its own in game development. But for our small idle game, we have nothing to worry about.

Update and Draw
Now that you understand the game loop, let’s talk about what happens inside it. Every frame, your game does two things: it updates its state, and it draws that state on screen.
These are two distinct responsibilities, and keeping them separate is one of the best habits you can build from the start.
Update is where your logic lives. This is where you move characters, increment counters, check for collisions, handle input. You’re not touching the screen at all — you’re just changing the data that describes your game world.
At a higher level, the update step is often where a concept called a finite state machine comes into play. The idea is simple: your game is always in one specific state — a main menu, a running game, a pause screen, a game over screen — and you define rules for transitioning between those states. Each state has its own update and draw logic. It’s a very clean way to manage complexity as your game grows. We’ll go deeper on this in a future article — for now, just keep it in the back of your mind.
Draw is where you take that data and render it. You clear the screen, paint everything based on the current state, and flip the buffer. Nothing else.
Here’s why the separation matters. Imagine you mix the two: you move a character and draw it at the same time, inside the same block of code. It works at first. But as your game grows, you’ll want to add animations, UI elements, debug overlays — and suddenly you don’t know where your logic ends and your rendering begins. It becomes a mess very quickly. Major frameworks like Monogame implement that by default.
In code, it looks like this:
while True:
    # 1. Events
    for event in pygame.event.get():
        if event.type == pygame.QUIT:
            pygame.quit()
            sys.exit()

    # 2. Update
    # (game logic goes here)

    # 3. Draw
    screen.fill((30, 30, 30))
    # (draw things here)
    pygame.display.flip()

    clock.tick(60)
Simple, clean, and already ready to grow. In the next section, we’re going to fill those two blocks with actual game logic — and build our idle game from scratch.

Building the Idle Game
Now let’s put everything together. We’re going to build a small idle game: a counter that increments automatically over time, and a click mechanic to speed it up.
Here’s the final code, and we’ll walk through it together:
import sys
import pygame
pygame.init()
screen = pygame.display.set_mode((800, 600))
pygame.display.set_caption("My First Game")
clock = pygame.time.Clock()
font = pygame.font.SysFont("Arial", 32)
# Game state
score = 0
auto_increment = 1
click_bonus = 10
timer = 0.0
increment_interval = 1.0 # seconds
running = True
while running:
dt = clock.tick(60) / 1000.0 # delta time in seconds
# 1. Events
for event in pygame.event.get():
if event.type == pygame.QUIT:
running = False
if event.type == pygame.MOUSEBUTTONDOWN:
score += click_bonus
# 2. Update
timer += dt
if timer >= increment_interval:
score += auto_increment
timer = 0.0
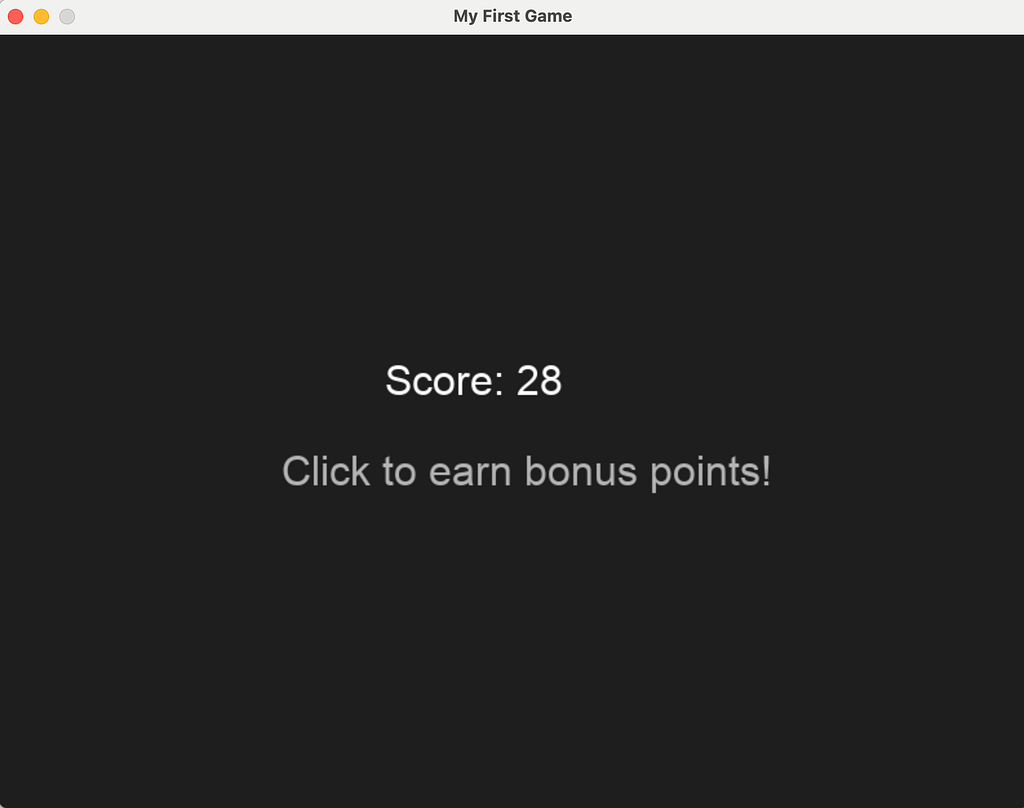
# 3. Draw
screen.fill((30, 30, 30))
score_text = font.render(f"Score: {score}", True, (255, 255, 255))
hint_text = font.render("Click to earn bonus points!", True, (180, 180, 180))
screen.blit(score_text, (300, 250))
screen.blit(hint_text, (220, 320))
pygame.display.flip()
pygame.quit()
sys.exit()
Let’s break down the new pieces.
Delta time is the first thing worth explaining. Instead of calling clock.tick(60) and ignoring the return value, we capture it as dt — the time elapsed since the last frame, in seconds. This is important: rather than saying "increment every 60 frames", we say "increment every 1.0 second of real time". Your game logic becomes independent from the frame rate, which makes it consistent across different machines.
The timer is a simple accumulator. Every frame, we add dt to it. When it reaches increment_interval, we increment the score and reset it. That's all there is to a game timer.
screen.blit is how you draw text (or images) onto the surface. You render the text into a surface first with font.render, then you paste it onto the screen at a given position.
And that’s it. Under 50 lines of code, and you have a running idle game that illustrates the game loop, update, draw, delta time, and event handling — all the core concepts we covered in this article.
Let’s take a step back and look at what we built today.
We started from scratch — a blank Python file — and ended up with a running idle game. Along the way, we covered the concepts that form the foundation of almost every game you’ll ever build with Pygame:
- Pygame is a library, not a framework. You’re in charge of the structure.
- The game loop runs continuously, 60 times per second, and is the heartbeat of your game.
- Update and Draw are two distinct responsibilities, and keeping them separate will save you a lot of pain later.
- Delta time makes your logic independent from the frame rate.
These concepts aren’t specific to Pygame or even to Python. You’ll find them in Unity, Godot, and pretty much every other game engine out there. Learning them here, at the lowest level, gives you a mental model that will transfer everywhere.
In the next article, we’ll take these foundations and apply them to something more complex: my actual game. We’ll talk about the camera system, isometric rendering, and how to structure a project that goes beyond 50 lines.
The full code for this article is available on GitHub — including setup instructions for macOS, Linux, and Windows.
See you in the next one.
What I Wish I Knew Before Building My First Game with Python was originally published in Level Up Coding on Medium, where people are continuing the conversation by highlighting and responding to this story.


