DefiDash: Sui에서 DeFi Saver 만들기
--
Wonseok Song | CURG 13th
본 글은 정보 제공을 목적으로 작성된 것으로, 투자, 법률, 자문 등 어떠한 분야에서도 책임을 지지 않습니다. 특정 자산에 대한 투자 권유의 의도가 없으며, 본문 내용만을 기반으로 투자 결정을 내리지 마시기 바랍니다.
1. 개요
DefiDash는 Sui에서 leverage와 deleverage를 한 번에 실행할 수 있게 만들기 시작한 프로젝트다.
핵심은 새로운 프로토콜을 만드는 게 아니라, 이미 있는 프로토콜을 한 흐름으로 묶는 것이었다.
현재 SDK는 아래 조합을 기준으로 동작한다.
- flash loan: Scallop
- swap: 7k
- lending: Suilend, Navi, Scallop
여기에 transaction builder, preview 계산, protocol 비교, 포지션 조회 기능을 붙였다.
프론트엔드에서는 단순한 액션만 보이지만, 실제로는 여러 Move call을 하나의 PTB로 조립하는 구조다.
2. Sui에서 Defi Saver가 필요한 이유
2.1 DeFi Saver란?
이 글에서 말하는 Defi Saver는 포지션 관리 레이어에 가깝다.
사용자가 원하는 건 개별 프로토콜 함수 호출이 아니라, “레버리지를 연다”, “포지션을 닫는다”, “어디가 더 나은지 본다” 같은 결과다.
그래서 SDK도 프로토콜 함수 단위가 아니라 액션 단위로 API를 잡았다.
const sdk = await DefiDashSDK.create(suiClient, keypair);

await sdk.buildLeverageTransaction(tx, {
  protocol: LendingProtocol.Suilend,
  depositAsset: "XBTC",
  depositValueUsd: 100,
  multiplier: 2.0,
});
2.2 Sui DeFi 생태계
Sui에는 필요한 기능이 이미 있었다.
문제는 기능이 없다는 게 아니라, 흐름이 끊겨 있다는 점이었다.
예를 들어 leverage 포지션 하나를 열 때도 다음 요소가 같이 필요하다.
- flash loan
- swap
- 담보 예치
- borrow
- flash loan 상환
이걸 각 프로토콜에서 따로 처리하면 프론트엔드가 너무 복잡해진다.
특히 XBTC, LBTC 같은 자산은 전략 자체는 단순한데, 실행 과정이 복잡해서 실제 사용성이 떨어진다.
그래서 DefiDash에서는 이 흐름을 SDK 안으로 넣고, 어느 프로토콜이 더 나은지까지 같이 계산하도록 했다.
const route = await sdk.findBestLeverageRoute({
  depositAsset: "XBTC",
  depositValueUsd: 100,
});

console.log(route.bestMaxMultiplier.protocol);
console.log(route.bestApy.protocol);
3. 결과물
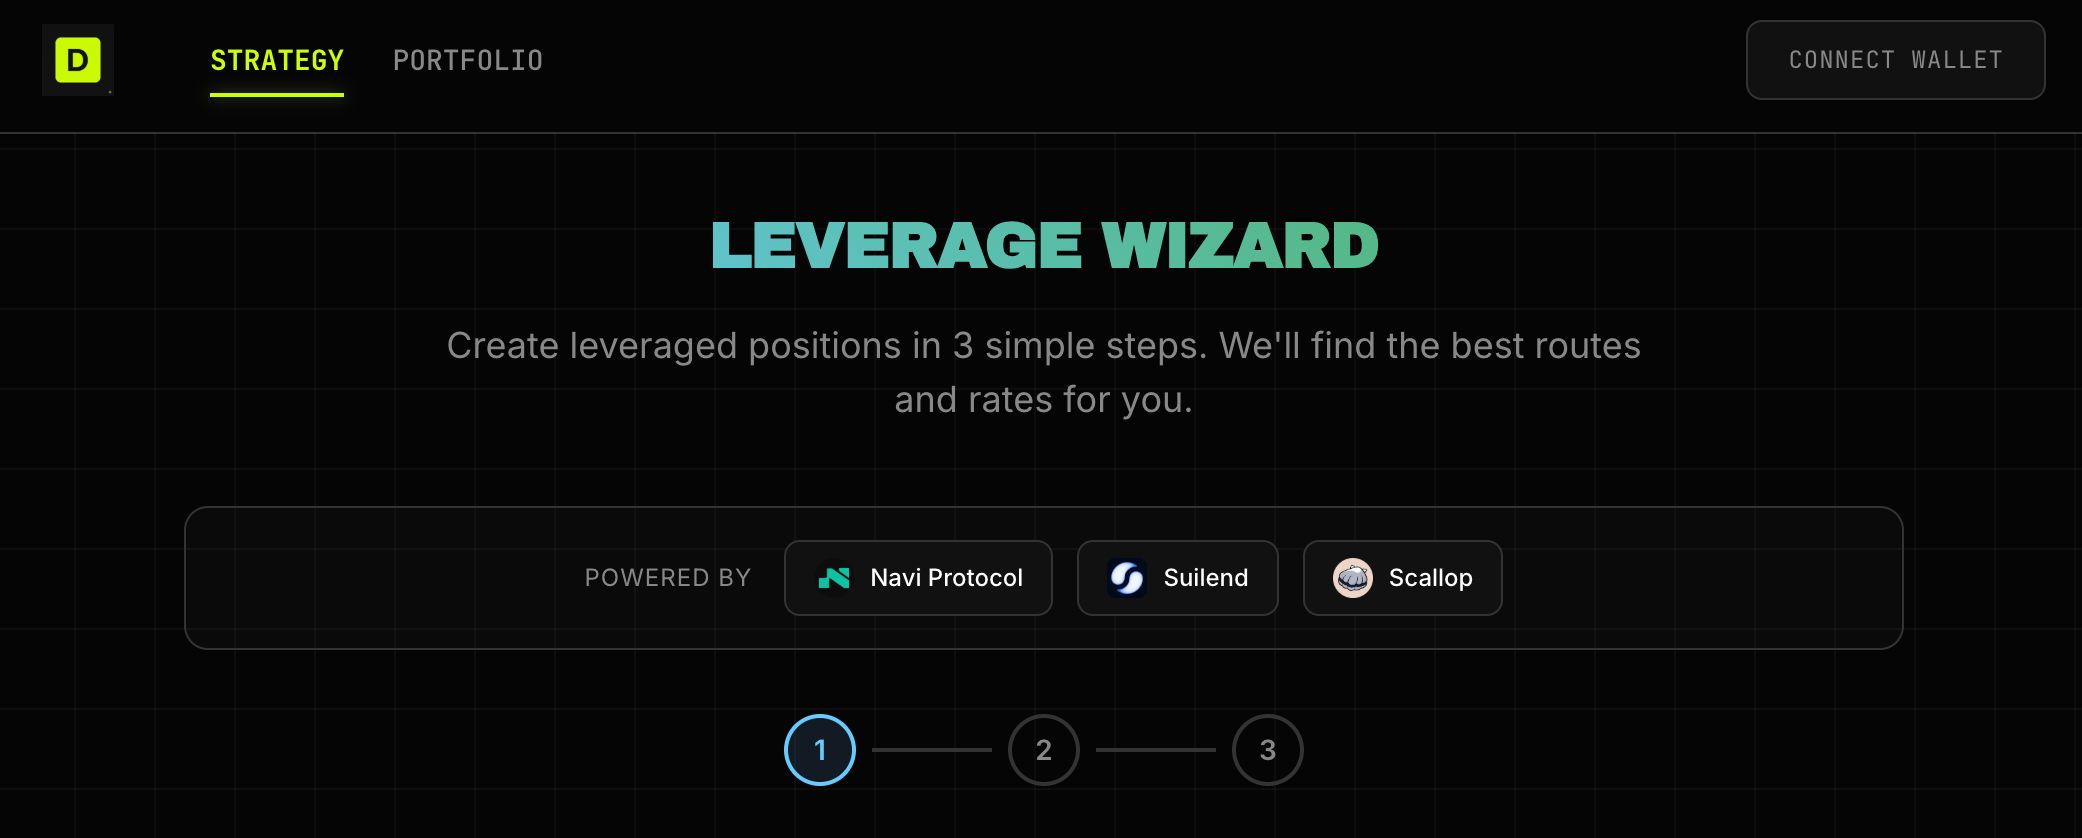
- GitHub: defidash-sdk
- Demo: DefiDash Frontend
3.1 Leverage / Deleverage
leverage는 대략 아래 순서로 동작한다.
- Scallop에서 USDC flash loan을 받는다.
- oracle을 갱신한다.
- 7k에서 담보 자산으로 swap한다.
- 사용자가 가진 자산과 합쳐서 담보로 넣는다.
- 다시 USDC를 빌린다.
- flash loan을 갚는다.
코드로 보면 이런 형태다.
const [loanCoin, receipt] = flashLoanClient.borrowFlashLoan(
  tx,
  flashLoanUsdc,
  "usdc",
);

await protocol.refreshOracles(tx, [normalized, USDC_COIN_TYPE], userAddress);

const swappedAsset = await swapClient.swap(
  {
    quote: bestQuote,
    signer: userAddress,
    coinIn: loanCoin,
    tx,
  },
  100,
);

await protocol.deposit(tx, depositCoin, normalized, userAddress);

const borrowedUsdc = await protocol.borrow(
  tx,
  USDC_COIN_TYPE,
  borrowAmount.toString(),
  userAddress,
  true,
);

flashLoanClient.repayFlashLoan(tx, borrowedUsdc, receipt, "usdc");
deleverage는 반대 방향이다.
먼저 빚을 정리하고, 담보를 꺼내고, 필요한 만큼만 swap해서 flash loan을 갚는다.
const [loanCoin, receipt] = flashLoanClient.borrowFlashLoan(
  tx,
  estimate.flashLoanUsdc,
  "usdc",
);

await protocol.repay(tx, USDC_COIN_TYPE, loanCoin, userAddress);

const withdrawnCoin = await protocol.withdraw(
  tx,
  supplyCoinType,
  withdrawAmount.toString(),
  userAddress,
);

const swappedUsdc = await swapClient.swap(
  {
    quote: bestQuote2,
    signer: userAddress,
    coinIn: coinToSwap,
    tx,
  },
  DELEVERAGE_SLIPPAGE_BPS,
);

flashLoanClient.repayFlashLoan(tx, flashRepayCoins, receipt, "usdc");
3.2 SDK
처음에는 스크립트가 먼저였고, 그다음에 공통 로직을 SDK로 옮겼다.
지금 구조는 adapter가 프로토콜 차이를 흡수하고, 상위에서는 같은 흐름으로 leverage/deleverage를 빌드하는 방식이다.
const suilend = new SuilendAdapter();
await suilend.initialize(suiClient);
this.protocols.set(LendingProtocol.Suilend, suilend);

const navi = new NaviAdapter();
await navi.initialize(suiClient);
this.protocols.set(LendingProtocol.Navi, navi);

const scallop = new ScallopAdapter();
await scallop.initialize(suiClient);
this.protocols.set(LendingProtocol.Scallop, scallop);
프론트엔드에서는 이 차이를 몰라도 된다.
브라우저에서는 transaction builder로 쓰고, Node.js에서는 execute까지 포함해 사용할 수 있다.
3.3 각종 수치 계산
실행 기능만 있으면 실제로 쓰기 어렵다.
그래서 preview와 route 계산도 같이 넣었다.
preview에서는 flash loan 크기, debt 비중, liquidation price, APY, slippage 등을 계산한다.
const flashLoanUsd = initialEquityUsd * (multiplier - 1);
const flashLoanUsdc = BigInt(Math.ceil(flashLoanUsd * 1e6));

const totalPositionUsd = initialEquityUsd * multiplier;
const debtUsd = flashLoanUsd + flashLoanFeeUsd;
const ltvPercent = (debtUsd / totalPositionUsd) * 100;
liquidation 관련 값도 같이 계산한다.
const { liquidationPrice, priceDropBuffer } = calculateLiquidationMetrics(
  debtUsd,
  totalCollateralAmount,
  riskParams.liquidationThreshold,
  price,
);
route 계산은 최대 배율과 유지 비용을 분리해서 본다.
같은 자산이어도 “최대로 당길 수 있는 곳”과 “들고 가기 편한 곳”은 다를 수 있기 때문이다.
const minMaxMultiplier = Math.min(
  ...successfulRisk.map((r) => r.riskParams.maxMultiplier),
);

const safeMultiplier = Math.max(
  MIN_SAFE_MULTIPLIER,
  minMaxMultiplier - LEVERAGE_MULTIPLIER_BUFFER,
);
4. 개발 과정
개발은 SDK부터 시작하지 않았다.
먼저 swap과 leverage가 실제로 되는지 테스트 스크립트로 확인했다.
그 다음 Scallop flash loan을 붙였고, 그 뒤에 SUI gas coin 처리, oracle refresh, deleverage, protocol adapter 순으로 정리됐다.
진행 순서는 대략 이랬다.
- 7k swap과 leverage 테스트 작성
- Scallop flash loan 연동
- leverage 성공 케이스 확인
- close position / deleverage 구현
- Suilend, Navi, Scallop adapter 정리
- gas 최적화 추가
- preview, route 계산 추가
- 테스트와 문서 정리
처음에는 되는 코드를 만드는 게 목표였고, 그 다음에는 같은 코드를 반복하지 않도록 SDK 구조로 정리하는 쪽으로 바뀌었다.
5. 기술적 어려움
5.1 하나의 PTB로 묶기
가장 먼저 부딪힌 문제는 순서였다.
같은 호출이라도 PTB 안에서 어디에 놓느냐에 따라 성공 여부가 달라졌다.
대표적인 예가 oracle refresh다.
7k swap이 내부적으로 Pyth update command를 넣을 수 있어서, protocol refresh를 swap 뒤에 두면 충돌이 날 수 있었다.
그래서 refresh는 반드시 swap 전에 실행하도록 바꿨다.
const [loanCoin, receipt] = flashLoanClient.borrowFlashLoan(tx, flashLoanUsdc, "usdc");

await protocol.refreshOracles(tx, [normalized, USDC_COIN_TYPE], userAddress);

const swappedAsset = await swapClient.swap(
  { quote: bestQuote, signer: userAddress, coinIn: loanCoin, tx },
  100,
);
Scallop은 더 까다로웠다.
새 obligation을 만들면 바로 끝낼 수 없고, borrow까지 한 뒤에 닫아야 했다.
그래서 중간 상태를 adapter 안에 잠깐 들고 가는 로직이 필요했다.
if (
  obligations.length === 0 &&
  this.pendingObligation &&
  this.pendingObligationKey &&
  this.pendingHotPotato
) {
  const result = this.borrowFromObligation(
    tx,
    this.pendingObligation,
    this.pendingObligationKey,
    BigInt(amount),
    normalized,
  );

  this.returnObligation(tx, this.pendingObligation, this.pendingHotPotato);
  tx.transferObjects([this.pendingObligationKey], this.pendingUserAddress!);

  return result;
}
5.2 EVM과의 차이점
가장 큰 차이는 object 모델이었다.
EVM에서는 보통 balance와 allowance를 기준으로 생각하지만, Sui에서는 어떤 coin object를 쓸지 직접 정리해야 한다.
특히 SUI는 gas coin이기도 해서 따로 처리해야 했다.
if (isSui) {
  const [userDeposit] = tx.splitCoins(tx.gas, [tx.pure.u64(depositAmount)]);
  tx.mergeCoins(swappedAsset, [userDeposit]);
  depositCoin = swappedAsset;
} else {
  const primaryCoin = tx.object(allCoins[0].coinObjectId);
  const [userContribution] = tx.splitCoins(primaryCoin, [
    tx.pure.u64(depositAmount),
  ]);
  tx.mergeCoins(swappedAsset, [userContribution]);
  depositCoin = swappedAsset;
}
coin type 비교도 그대로 하면 자주 깨졌다.
주소 포맷이 다르게 들어오는 경우가 있어서 normalize가 필요했다.
export function normalizeCoinType(coinType: string): string {
  const parts = coinType.split("::");
  let pkg = parts[0].replace("0x", "");
  pkg = pkg.padStart(64, "0");
  return `0x${pkg}::${parts[1]}::${parts[2]}`;
}
또 하나는 package ID와 object ID 관리다.
EVM에서는 보통 proxy 주소 하나로 끝나는 경우가 많지만, Sui에서는 version, market, oracle, obligation 관련 object를 같이 맞춰야 한다.
SDK를 만들 때 이 부분이 생각보다 손이 많이 갔다.
5.3 SDK 지원 부족
공식 SDK가 있어도, 여러 프로토콜을 한 PTB로 묶는 수준까지는 바로 되지 않았다.
Suilend는 PTB 안에서 deposit과 borrow를 같이 처리할 때 oracle refresh를 따로 보정해야 했다.
이미 obligation에 들어 있는 coin type을 필터링하지 않으면 중복 refresh 문제도 생겼다.
const existingCoinTypes = new Set<string>();
(obligation?.deposits ?? []).forEach((d: any) =>
  existingCoinTypes.add(normalizeCoinType(d.coinType.name)),
);
(obligation?.borrows ?? []).forEach((b: any) =>
  existingCoinTypes.add(normalizeCoinType(b.coinType.name)),
);

const newCoinTypes = coinTypes.filter(
  (ct) => !existingCoinTypes.has(normalizeCoinType(ct)),
);

await this.client.refreshAll(
  tx,
  obligation,
  newCoinTypes.length > 0 ? newCoinTypes : undefined,
);
Scallop은 xOracle 갱신도 바로 맞지 않았다.
Scallop builder를 만들고, 그 내부 txBlock을 현재 Transaction으로 바꿔서 oracle update command를 주입했다.
const builder = await this.scallop.createScallopBuilder();
const scallopTx = builder.createTxBlock();
scallopTx.txBlock = tx;

await scallopTx.updateAssetPricesQuick(coinNames);
Navi도 필요한 자산만 refresh하는 것으로는 부족했고, 전체 feed refresh 쪽이 더 안정적이었다.
const feedsToUpdate =
  this.priceFeeds.length > 0
    ? this.priceFeeds
    : coinTypes.map((ct) => this.getPriceFeed(ct)).filter(Boolean);

if (feedsToUpdate.length > 0) {
  await updateOraclePricesPTB(tx as any, feedsToUpdate, {
    env: "prod",
  });
}
결론적으로 protocol SDK 위에 한 단계 더 얹은 orchestration layer가 필요했다.
6. 한계와 개선 방향
6.1 더 많은 플랫폼과 토큰 지원
현재 지원 범위는 넓지 않다.
lending는 Suilend, Navi, Scallop이고, 전략 자산도 SUI, XBTC, LBTC 중심이다.
debt asset도 사실상 USDC 기준으로 잡혀 있다.
이 범위로 leverage/deleverage 핵심 흐름은 검증했지만, 실제 제품으로 보려면 더 늘어나야 한다.
다만 프로토콜 수를 늘리는 것보다 먼저, 공통 로직과 protocol-specific path를 더 분명히 나눌 필요가 있다.
6.2 자동화 및 자산 이동
지금 상태의 DefiDash는 포지션을 열고 닫고 비교하는 도구에 가깝다.
다음 단계는 자동화다.
예를 들면 이런 쪽이다.
- health factor가 낮아지면 자동 deleverage
- 더 나은 protocol이 있으면 포지션 이동
- asset별로 route를 자동 선택
이 단계로 가면 단순 계산보다 실행 안정성이 더 중요해진다.
oracle freshness, gas cost, liquidity depth, object version까지 같이 봐야 한다.
현재 SDK는 그 기반을 만드는 단계까지는 왔다고 보고 있다.